How to Stencil
Step by step instructions to ensure you get the best results with stencils, first time and every time.

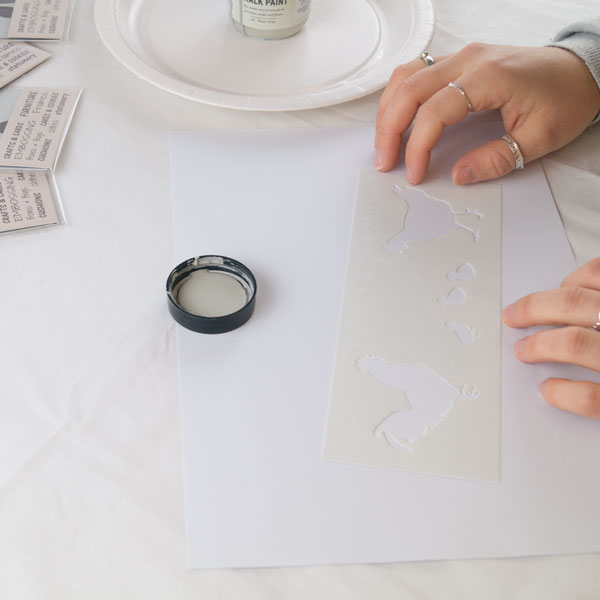
The stencil
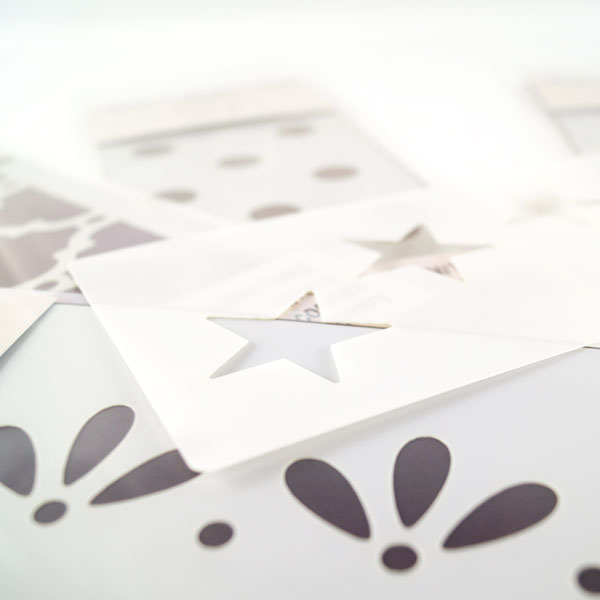
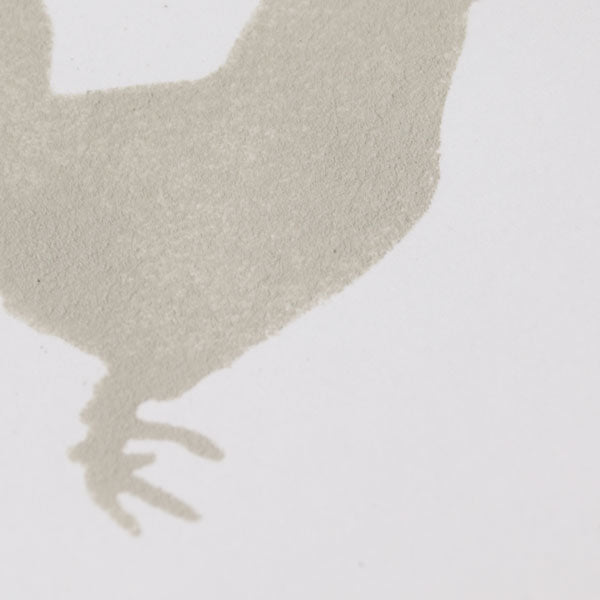
Stencils come in many sizes and designs and may be cut from various types of material including card, plastic or metal. We design and laser cut all of our stencils from durable and reusable 190 micron Mylar plastic which is fully washable. Stencils should always be stored flat for future use.
We have loads of stencils to choose from ranging in size from XS(A5) S(A4) M(A3) and L(A2) up to XL(A1), we suggest starting small if you haven't tried stenciling before. If upcyling is your thing Stencil MiNiS may be perfect for adding a stenciled border or embelishment detail. For bigger projects choose a larger format stencil like our Large & Extra Large stencils. These larger stencils are great for adding detail to a feature wall or creating an all-over pattern similar to wallpaper. Stencils offer more creative scope than wall stickers, allowing you to paint them any colour you like, reuse them and add pattern to almost any surface including fabric, furniture and floors.
Keeping the stencil static
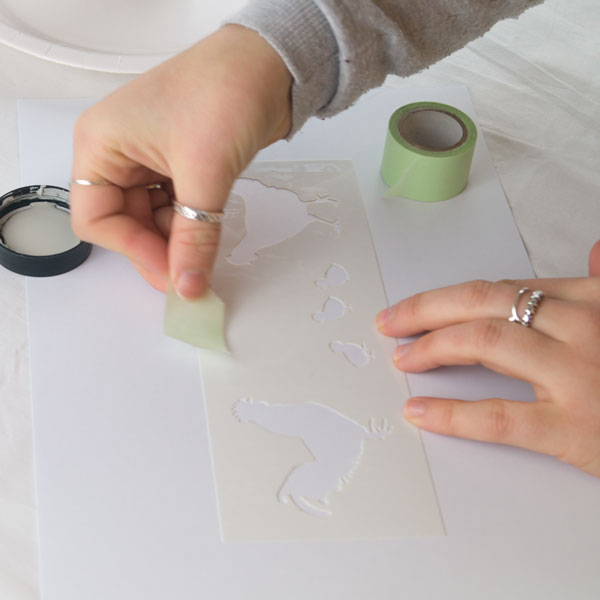
To ensure the stencil stays in place whilst painting it's best to secure with low tack stencil tape or spraymount.
There's a host of products on the market..
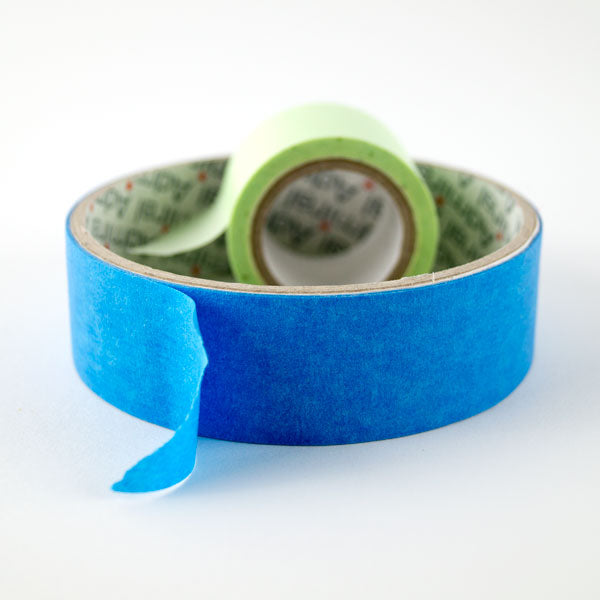
Top Tip - if you can't get your hands on low tack tape just remove some of the stick from masking tape by applying the tape to some fabric (like your jeans) before sticking the stencil in place.
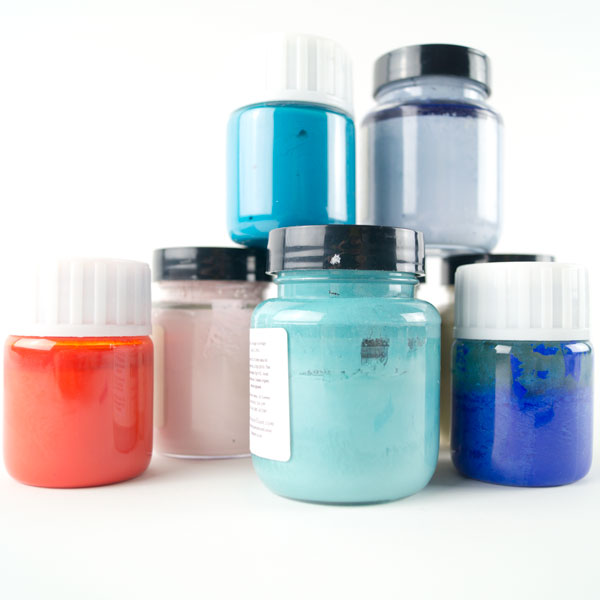
Paint
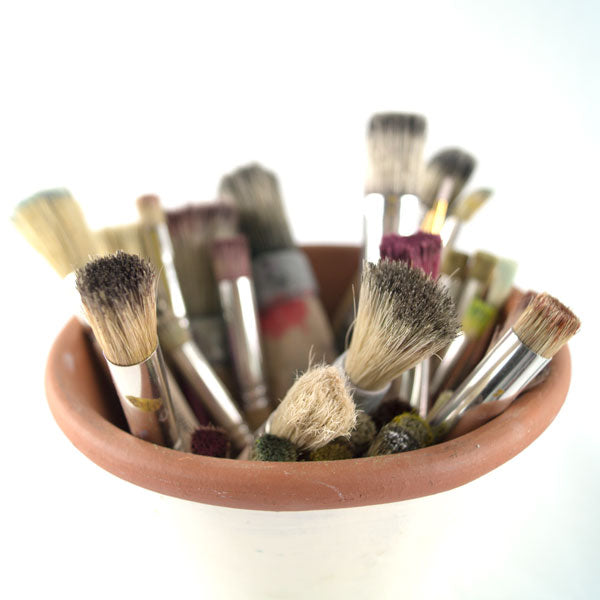
Applying the paint
Other useful things
Start by sticking the stencil in place.
Pour a little paint onto a paper plate.
You'll be surprised at how little paint you're going to need! Load the very end of the brush with some paint - then...
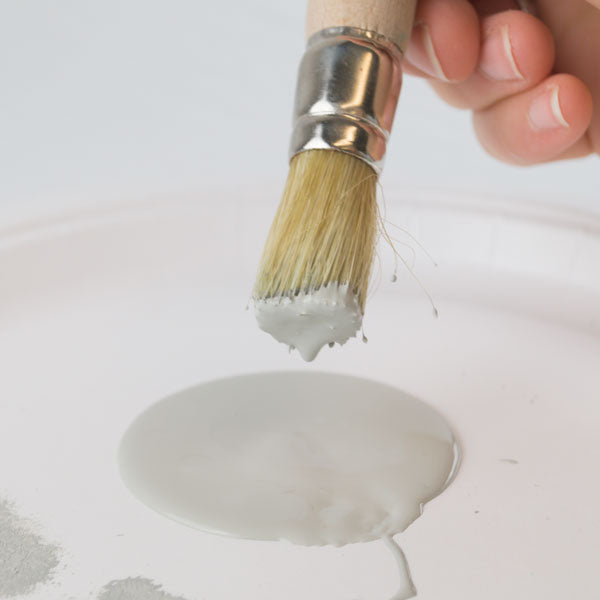
..remove most of the paint!
Simply blot and swirl the brush onto another part of the plate or some kitchen towel to distribute the paint evenly on the bristles and remove excess paint from the brush. You're aiming for a virtually dry brush here.

Begin stenciling
Apply the brush to the stencil in a dabbing or swirling motion. A bit like a Woodpecker! Keep the brush upright and at 90 degrees to the stencil at all times.

Pay particular attention to the edges of each hole in the stencil. There are lots of cool shading techniques which we'll cover another day but to start with just concentrate on filling in all the cut parts of the stencil. Only reload the stencil brush when no more paint is available.


If you fancy adding another colour, go for it. To keep colours separate use another stencil brush and wait for the first colour to dry, but, if it's a blended look you're going for you could try adding a second colour whilst the first paint colour is still tacky and blending by overlapping with the second.
Remove the stencil
Once you've finished painting the stencil it's time for the big reveal! Just peel the stencil away and voila, you're an artist!!
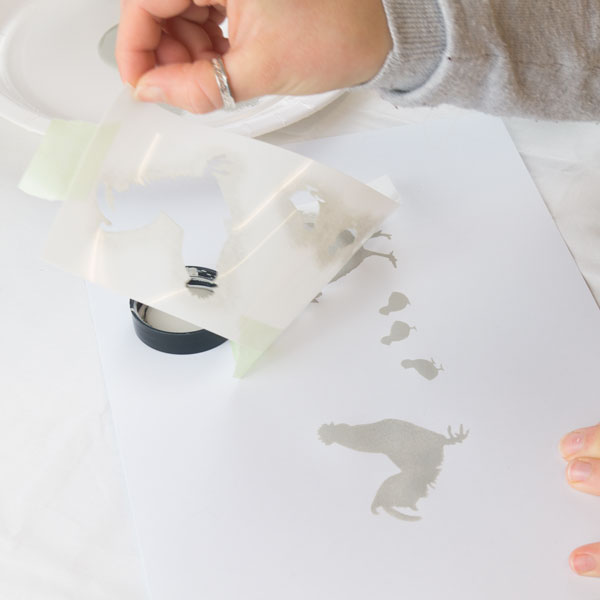
Top Tip - Remove the stencil before paint dries, especially if the paint is quite thick. There is a danger of peeling paint from your stencilled surface if you allow a film of paint to dry across the stencil!

So what are you waiting for? Take a look at some stencils and get stenciling...