Tray Makeover
 |
Have you seen our smalls?Stencil MiNiS are so versatile and just perfect for small stencilling and upcycling projects like this plain little tray in need of some TLC
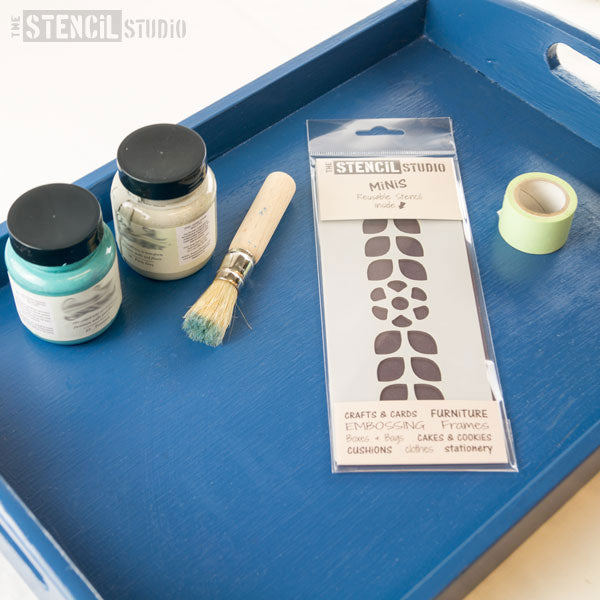
For this project I chose our Dorit Flower Border Stencil MiNi, this design is a small version of our larger Dorit Flower Border stencil available in five sizes. I love this stencil and thought it would look great used as a border around the inside of the tray. If you haven't tried stencils before starting small is the way to go, and if you make a mistake, just wipe it off and start again! I also found some chalk paints, a few stencil brushes (one for each colour) and a few inches of low tack masking tape. You could also use a small foam paint roller, pieces of sponge or spray paint however, stencil brushes are ideal for smaller projects, you'll get more control, especially when painting several colours close together. I used a medium sized stencil brush for the grey and a couple of small brushes for the pink and yellow details. Make sure your brush is dry before adding paint to it, any water in the bristles will dilute the paint and may cause the paint to run. Obviously you could paint any number of colours you like or even just one colour, it's a completely personal choice. The tray had previously been coated with a low gloss paint and left to dry thoroughly. |
|
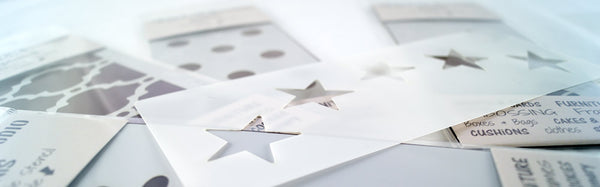
A few of our Stencil MiNiS, you can see the collection here.
|
|
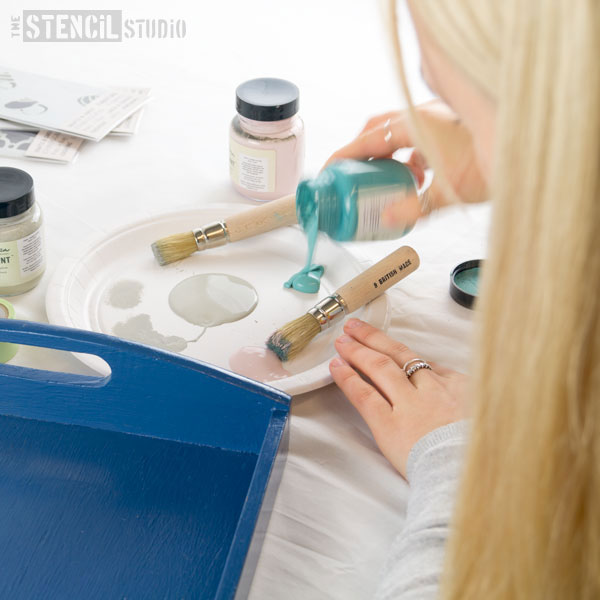
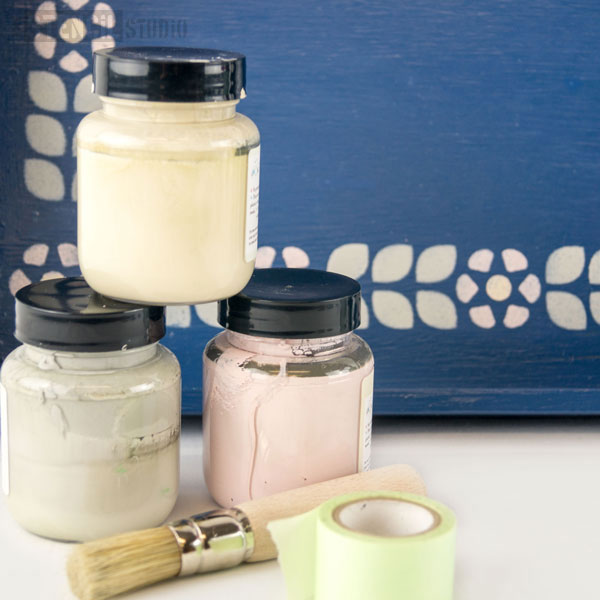
Start by adding some small blobs of paint to a paper plate, this was the moment I changed my mind and decided to opt for grey instead! The lovely turquoise shade will be used on something else. Any thick paint is good for stencilling so I chose some little tester pots of chalk paint, and, as I was painting onto a dark colour, I needed a paint that would cover well and not be too opaque. |
|
Getting set up.
|
|
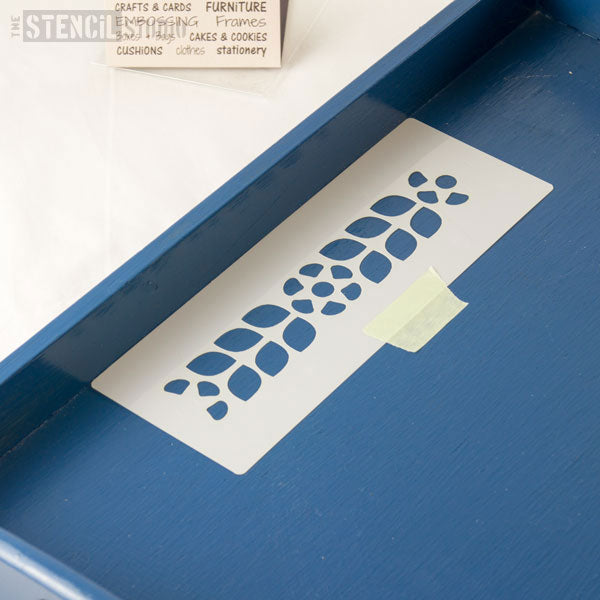
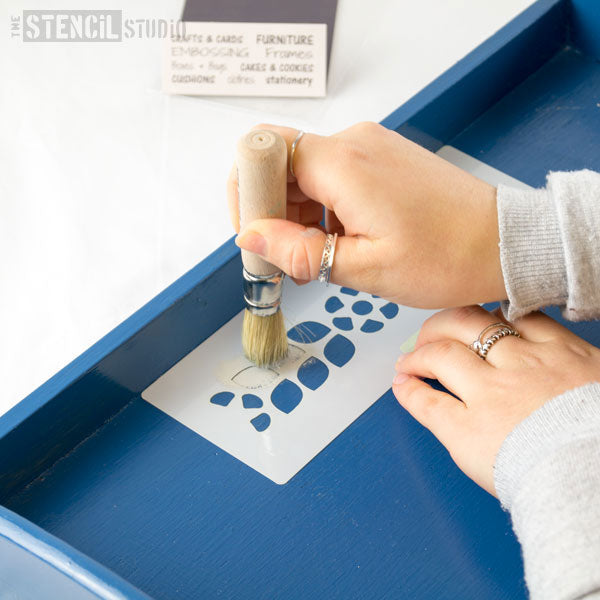
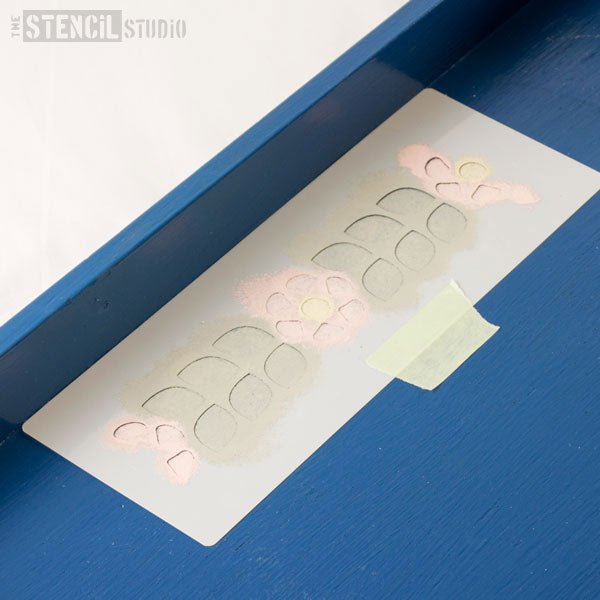
Plan how the stencil will work, you may need to measure it out and mark central points to work out from. When you're aiming for a symmetrical pattern start in the middle and work outwards. Once the stencil is in the correct place secure it with masking tape. Remember that stencils can be turned over to invert the design too, again, it's just a case of looking at your project and deciding what works for you. |
|
Position.
|
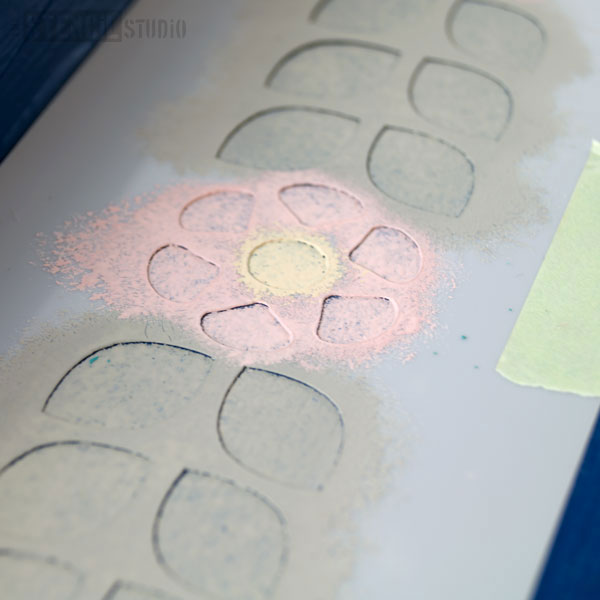
| Take a little paint onto the end of a dry stencil brush, give it a few taps on the paper plate to distribute the paint and then tap the brush onto a paper towel or some scrap paper to remove excess paint. This is a really important part of stencilling, it seems mad to add paint to the brush and then remove it right? You're basically aiming for as little paint on the brush as possible. Then start stencilling. |
|
Paint. Hold the stencil brush at 90 degrees to the stencil.
|
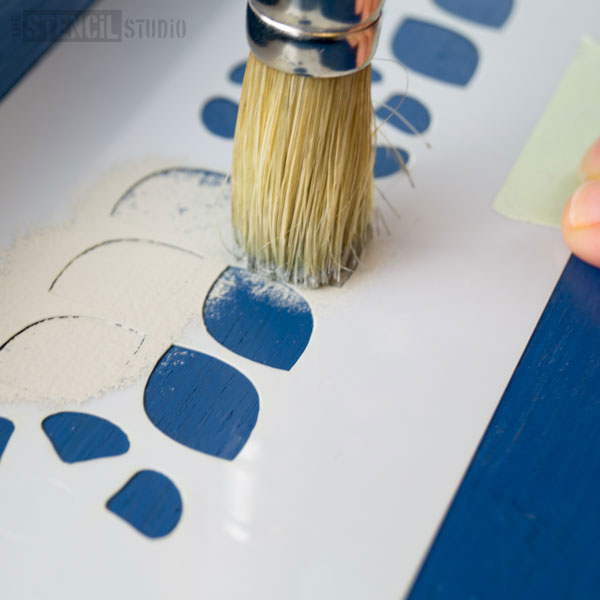
| Keeping the stencil brush at a 90 degree angle to the stencil at all times tap (stipple) the brush in an up and down motion onto the tray through the cut parts of the stencil. Keep tapping harder and harder until no more paint comes away. Reload the brush and keep tapping. You can also use your free hand to hold the stencil in place, any movement at this stage will cause blurred edges. |
|
Keep stippling..
|
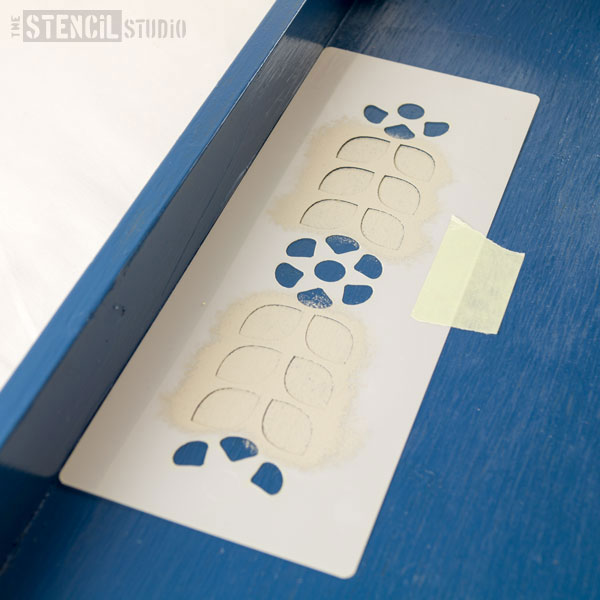
| So that's all the grey stencilled and I'm happy with the coverage. Chalk paint dries pretty quick but at this stage it's still removable with a damp cloth so don't worry if you make a mistake. |
|
Grey done, time to change brush and colour.
|
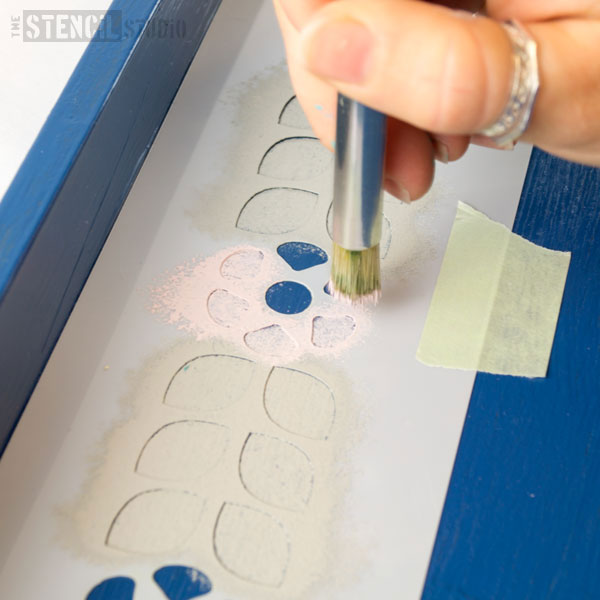
| Next I changed to a small stencil brush and pink paint. The cut elements of this little stencil are quite close so I know that I'm going to get a little overlapping of colour here and there and that's fine for me. If you wanted to keep colours completely separate you could mask off the areas you don't want to paint or you could paint the areas you want with one colour, remove the stencil, wash it and then stencil your next colour. I know that sounds time consuming so maybe a second or third stencil copy would be useful and save washing and drying time. |
|
Painting the pink
|
|
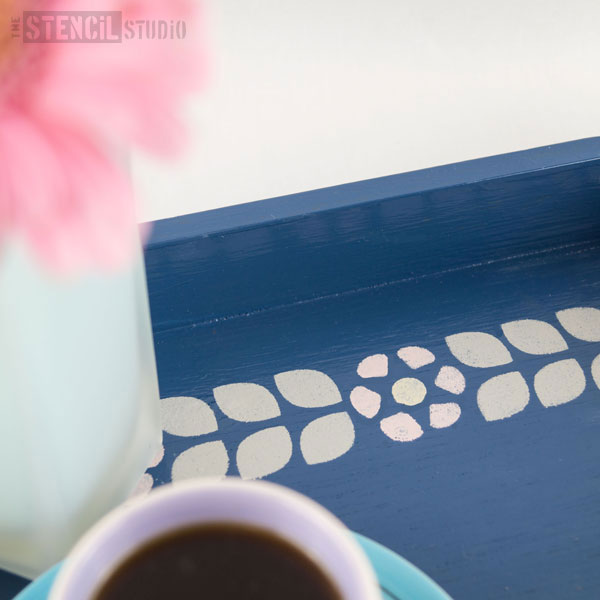
And finally the lemon colour is painted with a small brush. I also went back and touched up the grey where it had started to dry slightly patchy. |
|
Not bad, I managed to keep the colours pretty much separate with those small brushes
|
|
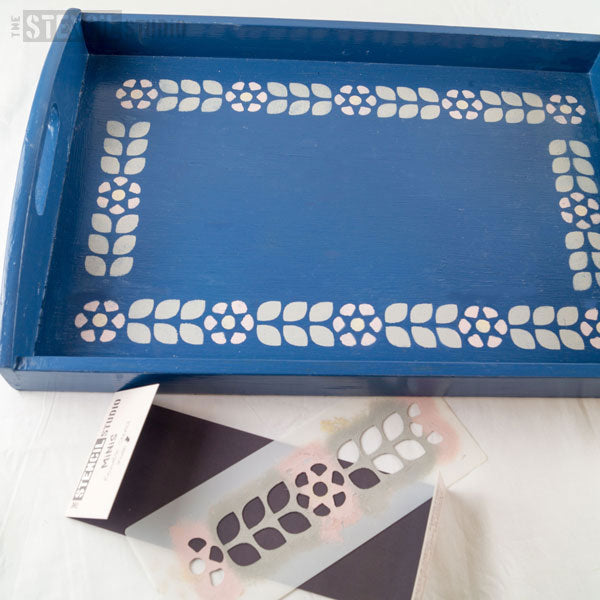
All done. Ready for the reveal?
|
|
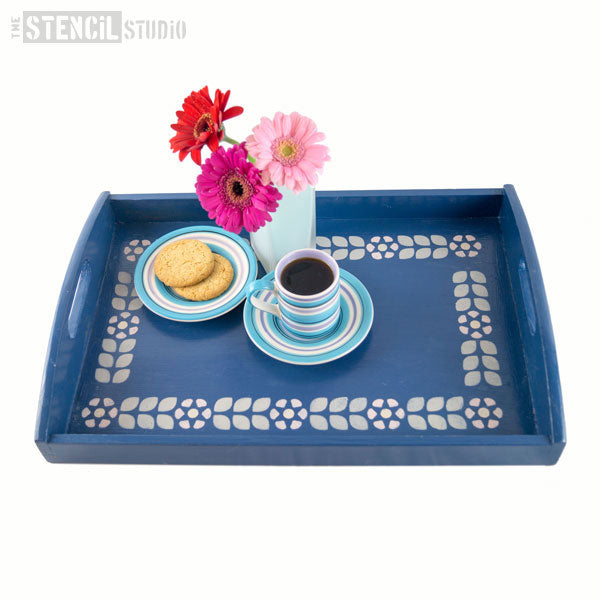
Tadaa..!
|
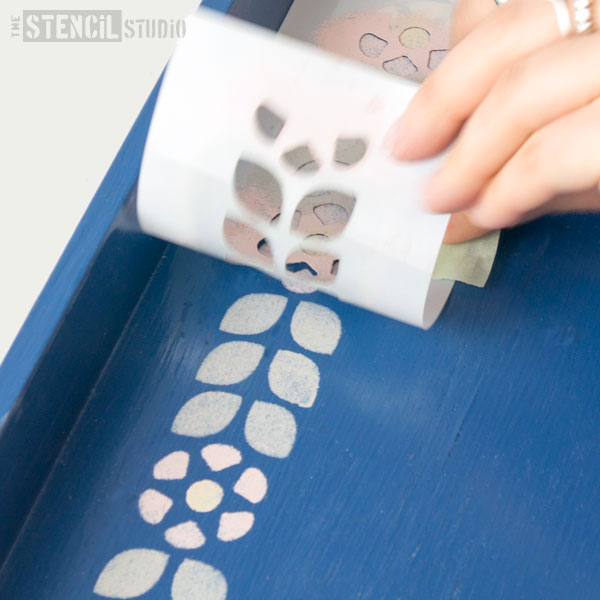
| Continue to move the stencil, tape in place and paint the stencil to form a border. I did the two long sides of the tray first and filled in the short edges as best I could in a sort of symmetrical pattern! It's not perfect buy I'm happy with it and the tray looks a lot better than it did half an hour earlier. |
|
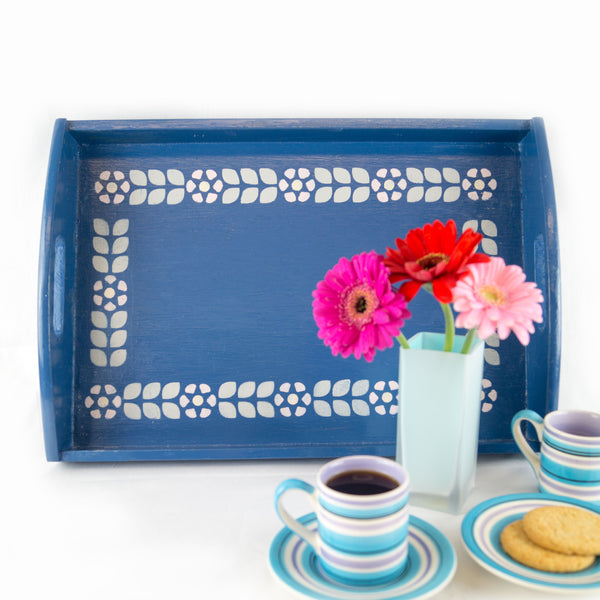
I'm very pleased with the colours and finish.
|
| All in all it took less than an hour to complete the tray. A final paint over with varnish or wax once the stencilling is fully dry will protect against damage whilst wiping away spills and cake crumbs! |
|
|
|
|
|
So, now to find a project for that turquoise paint... |
Are you #AddictedToStencils?
Please feel free to comment below and share this post. |